Felt Tinting

You can add color and embellishment to your felt pieces using chalk pastels! It's easy and fun to shade these leaves (the pattern is in the little dear shop) you can make them in all different palettes for any season.
My favorite felt in all these beautiful colors comes from Benzie Design! It is a thick wool blend, you'll want to use high quality felt if you want to add tinting, cheap acrylic craft store felt tends to fuzz and break apart at the edges.

First cut out your felt pieces. Grab some artist chalk pastels, any brand will do. For these leaves, I used short strokes starting about 1/2 inch in and going outwards off the edge. You can use chalk in a lighter or darker color than the felt to make a natural blend, or choose a contrasting color for something more dramatic. I also drew veins on each leaf.

Try using two different colors for a gradient! I started here with yellow, beginning almost at the center of the felt piece, then added a layer of red closer to the edge.
Try experimenting with different colors to see what you like! If you end up with a little felt fuzz around the edge, just trim it off with small scissors when you're done tinting.

After you're done, gently shake to remove extra chalk dust. It's also good idea to seal the chalk in with a spray fixative. I used this one because I had it on hand. Just lay your felt pieces out on paper, spray lightly and let dry. You can add another layer after it dries. You may still lose a little dust after spraying, this technique is best for display pieces that won't be handled a lot.
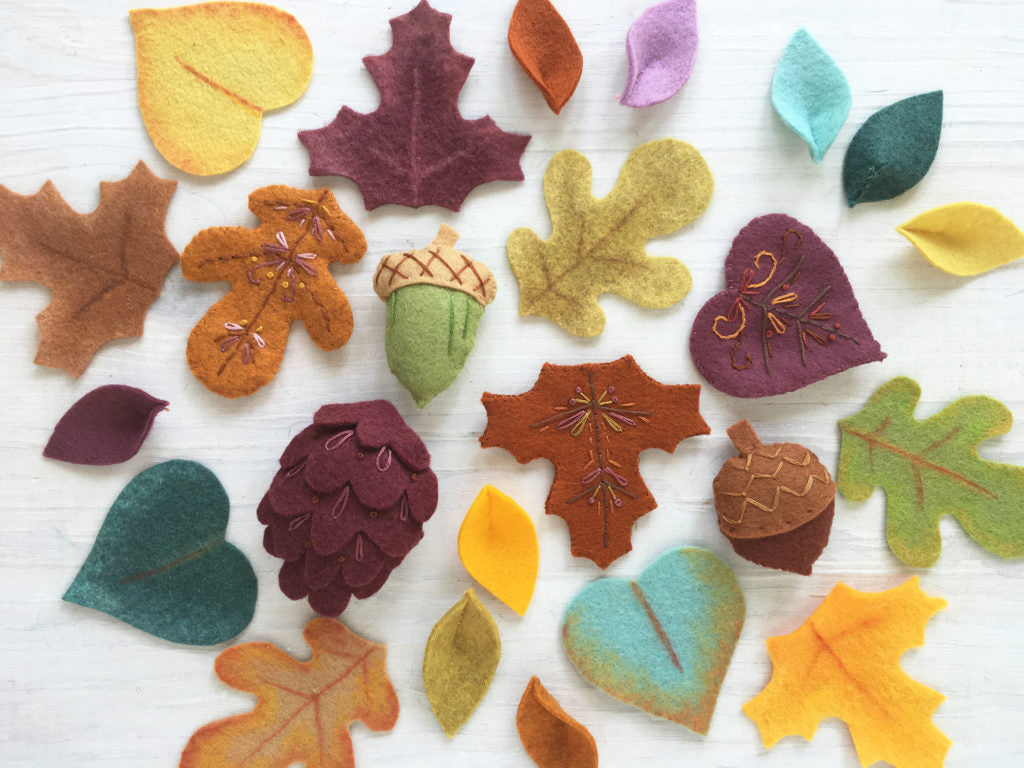
These Felt Leaves are one of my favorite projects! You can get the full pattern in the shop, as well as many other fun, felt sewing projects. I hope you'll try it out and use this tinting tutorial to make your own unique creations!


